Prone vs Crouch vs Standing: When to Use Each Position in BGMI Fights (2026)
TL;DR: Prone = steadiest spray, zero mobility — use for long-range LMG/DMR beams and final-zone grass. Crouch = the all-rounder — tighter spray than standing, still mobile — best for mid-range AR fights and low cover. Standing = close range, where strafing beats recoil control. Most players under-use crouch and over-use prone in the open. Fix those two habits and your gunfights get noticeably easier.
Watch any experienced player: they rarely stand still and spray. They drop to crouch mid-spray, go prone behind a ridge, pop up to strafe. Position is a weapon like the gun in your hands — but most casual players use one position (usually standing) for everything, leaving free accuracy on the table.
Table of Contents
- What Each Position Does to Your Gun
- Comparison Table
- When to Go Prone
- When to Crouch
- When to Stay Standing
- The Prone-Cancel Trick (and Its Risks)
- Position + Peek Combos
- Common Mistakes
- 15-Minute Practice Drill
- FAQs
What Each Position Does to Your Gun
Changing position changes three things: recoil/spread, your movement, and your visible profile.
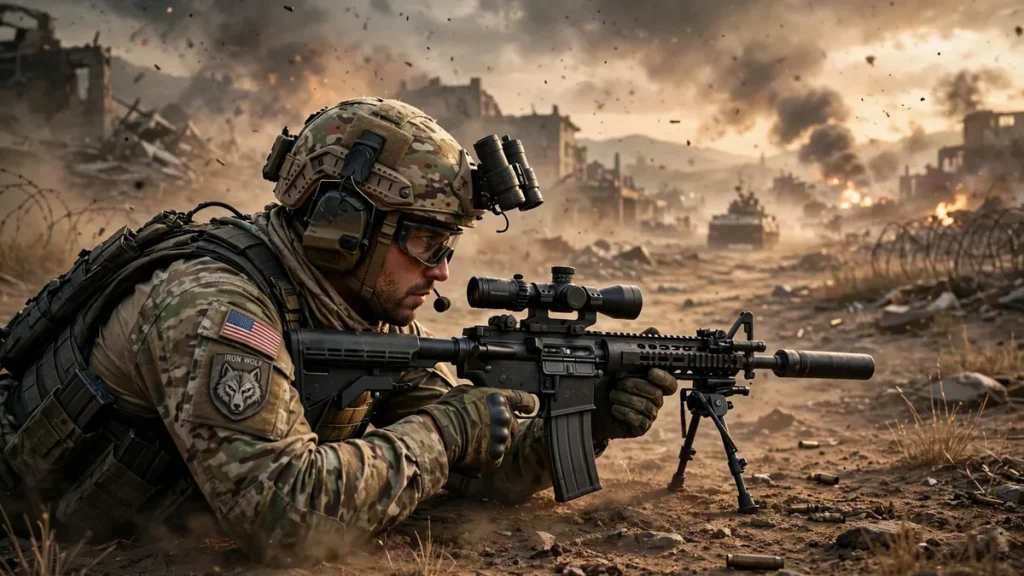
Prone: Recoil and spread at their lowest — fully stabilized. Wild sprays become tight beams. But you can only crawl, getting up takes a moment, and in the open you are a long, flat, stationary target.
Crouch: The middle ground. Clearly tighter recoil than standing, though not as laser as prone. You keep a decent crouch-walk speed, standing back up is instant, and your smaller profile fits behind low cover (crates, small walls, car hoods).
Standing: Full sprint, fast strafes, instant jumps — but the worst recoil and spread, and the biggest target.
The pattern: stability and mobility are a trade-off — every position choice picks your spot on it for that fight.
Prone vs Crouch vs Standing: Comparison Table for BGMI
| Prone | Crouch | Standing | |
|---|---|---|---|
| Recoil / spread | Best — steadiest | Good — clearly better than standing | Worst — most kick |
| Movement | Crawl only | Moderate crouch-walk | Full sprint + strafe |
| Time to reposition | Slowest (stand-up animation) | Fast (instant stand) | Instant |
| Profile | Lowest in grass; long target in open | Small — fits behind low cover | Tallest — exposed |
| Best range | Long (50m+) | Mid (20-50m) | Close (0-20m) |
| Best weapons | LMG, DMR | ARs, SMGs | SMG, shotgun, hip-fire AR |
| Biggest risk | Sitting duck if spotted | Crouch-spam vs good players | Spray goes wild past 30m |
When to Go Prone in BGMI Gunfights
Prone is a specialist tool — use it when steadiness matters more than movement.
Long-range LMG/DMR sprays: This is prone’s home turf. A light machine gun prone at 60-80m is a different weapon than the same gun standing. Same for DMRs: prone, tap-tap-tap, follow-up shots land where the first did. Holding a ridge while enemies cross open ground far away? Prone, almost every time.
Final-zone grass: Last circles, tiny zone, everyone watching for movement. Prone in grass makes you genuinely hard to spot. Key: go prone early, before the zone shrinks — crawling into position while five people watch is how you die. Get there first, lie still, let them fight each other.
Behind ridge cover: Prone behind a hill crest lets you show just head-and-gun over the top. Tiny target for them, stable platform for you.
When NOT to prone: In the open with no cover, on roads, anywhere the enemy already knows your location. Prone in the open is volunteering as a target dummy — no strafe, no run, and the stand-up takes long enough for a decent player to finish you.
When to Crouch During BGMI Fights
The most underused position — and the easiest win in this guide. If you change one habit, make it this: crouch during mid-range AR sprays.
Mid-range AR sprays (20-50m): Drop to crouch as you start spraying and bullet grouping tightens immediately. You lose no meaningful mobility at this range, but gain real accuracy. This one habit turns “I hit some shots” into “I beamed him” in so many fights.
Behind low cover: Crates, compound walls, car hoods — crouching hides your whole body while you pop up to shoot. Standing behind low cover leaves head and chest exposed the entire fight. Make crouch-behind-cover your default.
Holding angles: Watching a doorway or window? Crouch. Steadier first shots, and if the enemy pre-fires at head level, your crouched head sits below their crosshair. Free advantage.
Looting/healing under pressure: Crouching behind partial cover keeps you small while looting or popping a medkit. Not full protection — but often the difference between catching a stray bullet and not.
When to Stay Standing in BGMI Combat
Standing is not the “bad default” — it is correct whenever movement matters more than steadiness.
Close range (0-20m): Inside buildings, around corners — strafing and first bursts decide fights. Crouching here just makes you easier to track. Stay up, strafe, use the geometry.
Strafing duels: Trading shots at close-mid range in the open? Side-to-side strafes throw off enemy aim — only possible standing. Crouch-strafing is too slow to dodge anything.
Disengaging: Running to cover, rotating to zone, chasing a knock? You need full movement. Players die daily from staying crouched one second too long instead of sprinting to safety.
Shotgun / hip-fire fights: Over in a second either way — movement wins these, not stability.
The Prone-Cancel Trick (and Its Risks)
Drop prone at the start of a long spray and recoil seemingly vanishes — the stability bonus applies fast, so the “trick” genuinely works for planned long-range beams from cover. But know the risks:
- You are committed. No quick dodge from a third party or grenade. A nade landing near prone-you in the open = death.
- Good players punish it. Dropping prone is predictable; they adjust aim down and keep spraying while you cannot strafe.
- The stand-up delay is real. If the fight suddenly goes close-range, getting up takes long enough to get you killed.
Use it for planned beams from cover — not as a panic button in every fight.
Position and Peek Combos for BGMI Gunfights
Positions get stronger combined with peeking:
- Crouch + lean-peek: Crouch behind a wall, lean out, spray, lean back. Tiny exposure, steady aim — the bread-and-butter of compound fights.
- Stand-to-crouch mid-spray: Start spraying standing as the enemy appears, drop mid-mag. First bullets come out fast, then the spray tightens. Great for 25-40m surprises.
- Prone ridge + pop-up: Lie prone behind a crest; when an enemy pushes up unaware, stand suddenly — height, surprise, and a close fight on your terms.
- Crouch-jiggle at doorways: Crouch behind a doorframe, jiggle out and back to bait shots, commit when they reload.
The thread: change position with purpose, not randomly. Every drop or stand should answer “what does this give me in the next 3 seconds?”
Common Position Mistakes BGMI Players Make
- Proning in the open with no cover. The most common and most punished mistake — covered above, worth repeating.
- Crouch-spamming vs good players. Rapid crouch-stand-crouch ruins your own recoil while experienced enemies track your head calmly. One deliberate crouch beats ten spammed ones.
- Staying prone after the fight changes. You proned for a long-range beam — good. Then his teammate flanked close, and you are still lying there. Reassess every few seconds.
- Never crouching at all. If every mid-range spray is done standing, you fight handicapped by choice. Try crouch-sprays for one full day and compare.
- Proning to loot in a hot zone. Feels safe (small target) but you cannot see much or run. Crouch-loot instead: small profile, instant sprint if shots come.
15-Minute Practice Drill for BGMI Positions
Once in training ground, and the muscle memory sticks:
- Minutes 0-5 — see the difference: Same AR, wall, distance. Spray 30 bullets standing, 30 crouched, 30 prone. Compare patterns side by side — watching groupings shrink makes the lesson stick.
- Minutes 5-10 — transitions: Stand-to-crouch mid-spray, crouch-to-stand, drop prone from standing. Ten reps each until the button feels automatic.
- Minutes 10-15 — scenarios: 40m enemy → stand-spray-to-crouch. Ridge → prone beam at a far target. Doorway → crouch behind cover and lean-peek. Narrate it — “mid-range, crouch” — until the decision is reflex.
Then play 2-3 casual matches with one rule: crouch every AR spray past 20 meters. You will feel it by match two.
Conclusion
Prone, crouch, and standing each win different fights in BGMI — the skill is knowing which one the moment demands. Drill the position-peek combos from this guide, and you will stop getting caught standing in the open.
FAQs
Q1: Does crouching really reduce recoil, or is it placebo?
Genuinely reduces it — the game applies a stability bonus to crouched and prone stances. Verify in two minutes with the wall-spray drill. The patterns are visibly tighter; not placebo.
Q2: Should I prone every long-range spray?
Only with cover nearby or in grass. Prone in open ground is still dangerous — a second enemy or sniper just needs you stationary. Rule: prone + cover = great; prone + open = risky.
Q3: Is crouch-spamming useful or bad?
Mostly bad against decent players. It ruins your own recoil control while experienced enemies track through it. One well-timed crouch beats ten spammed ones.
Q4: Where do jump-shots fit in?
Close-range tool (shotguns, SMGs) for dodging — all movement, zero accuracy. Inside buildings at very close range only; never at mid/long range where bullets need to land.
Q5: The prone button is hard to reach on my small phone — fix?
Move stance buttons near your right thumb’s rest position in the custom layout, or enlarge them slightly. If reaching the button costs half a second, you will never use the position in real fights.
Q6: Which position do pros use most?
Crouch, by far — the default fighting stance in competitive play, since most pro fights are mid-range around cover. Prone is situational; standing is for close-range strafes. Copy the crouch habit first.
Disclaimer: BuzzGamers is an independent, fan-run website and is not affiliated with or endorsed by Krafton, Inc. or Battlegrounds Mobile India. All game names, marks and images belong to their respective owners.